8 Tips on How to Roll a Joint
Rolling a joint is an art form that takes practice and patience to master. While there are many ways to roll a joint, the following steps will guide you through the basics of doing it yourself. - Written by Randy Villarba
Rolling a joint is an art form that takes practice and patience to master. The process of rolling a joint involves taking ground cannabis flower and rolling it in a paper or blunt wrap, creating a tightly-packed cylinder that can be smoked.
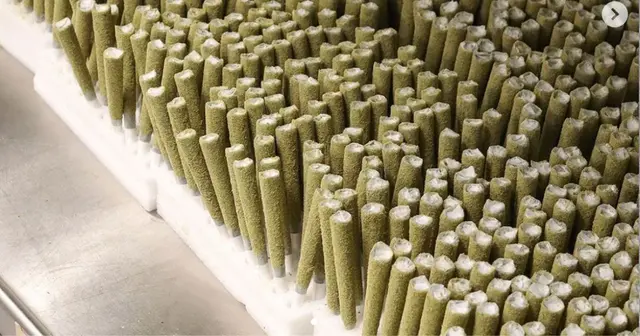
There are several different types of joints to choose from, each with their own unique characteristics. Infused joints contain cannabis concentrate or oil, while blunts are rolled with a tobacco leaf wrap. Spliffs are made with a combination of cannabis and tobacco, and pre-rolls are joints that are pre-rolled and ready to smoke. Hash infused pre-rolls are made by adding a small amount of hash, a cannabis concentrate made from resin, to the cannabis flower.
Rosin infused pre-rolls are made by adding rosin, a solventless cannabis extract, to the cannabis flower before rolling it into a joint. Kief lined pre-rolls are made by lining the inside of the joint with kief, which are the trichome crystals that fall off the cannabis flower during the grinding process. These variations of pre-rolls can provide a stronger and more potent smoking experience.
Other variations of joints include using flavored papers or cones, and creating different sizes and shapes. Ultimately, the type of joint you choose will depend on your personal preferences and the type of smoking experience you seek.
While there are many ways to roll a joint, the following steps will guide you through the basics of doing it yourself.
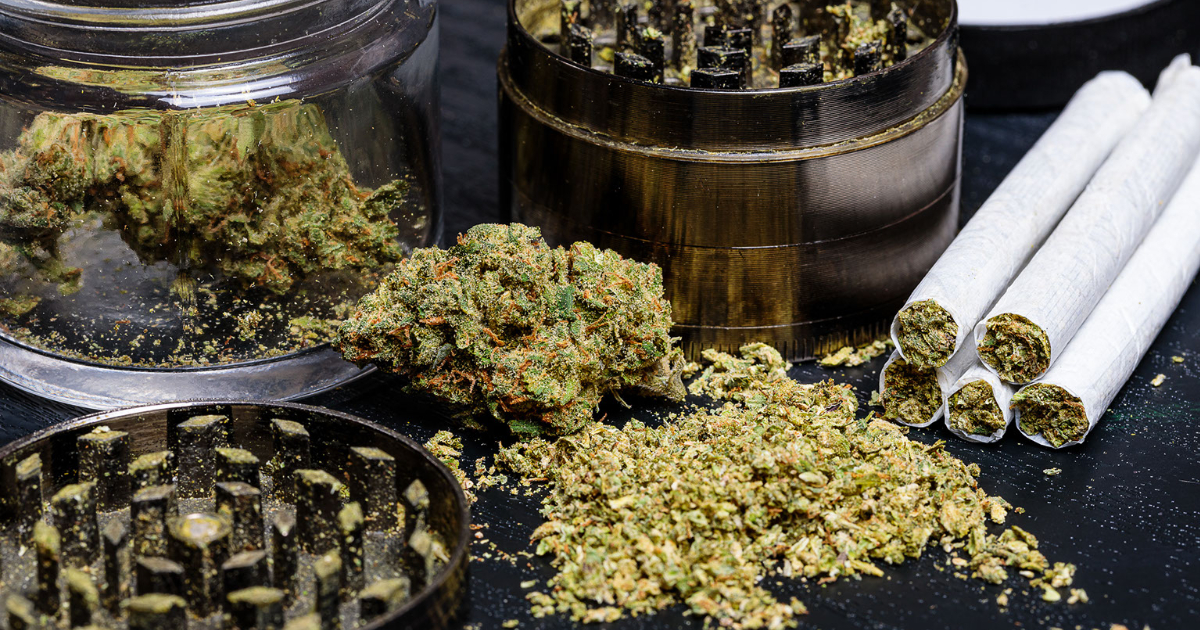
Step 1: Gather Your Materials
To roll a joint, you will need the following materials:
- Ground cannabis flower - On average, most pre-rolls are made with a gram of weed.
- Rolling papers, joint papers (Raw & Zig Zags), rice papers (Elements), hemp rolling papers, blunt wraps or cones
- Filters (optional)
- A grinder (optional)
- A rolling tray or flat surface
Before you begin rolling, it is essential to make sure that your materials are clean and free of any debris. If you are using a grinder, make sure it is clean and free of any debris or residue.
Step 2: Prepare Your Cannabis Flower
The first step in rolling a joint is to prepare your cannabis flower. If you have a grinder, use it to grind your flower into small, evenly-sized pieces. If you don't have a grinder, you can break up the flower by hand.
It is important to note that the quality of your cannabis flower will affect the quality of your joint. Make sure that your flower is fresh and free of mold or other contaminants.
Step 3: Prepare Your Rolling Paper
Next, you will need to prepare your rolling paper or blunt wrap. If you are using a rolling paper, you will need to create a fold in the paper to form a crease. This will serve as a guide for where to place your cannabis.
If you are using a blunt wrap, you will need to moisten the wrap slightly to make it easier to work with. You can do this by licking the wrap or by using a damp cloth.
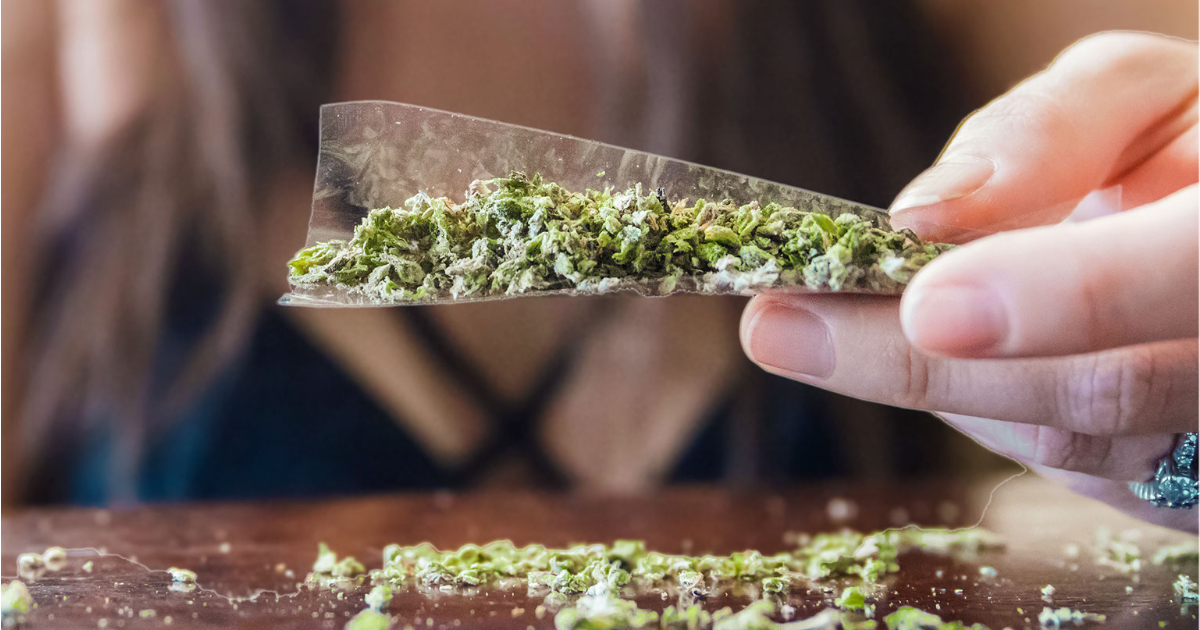
Step 4: Add Your Cannabis to the Paper
Once your paper or wrap is ready, it is time to add your cannabis. Start by sprinkling the ground cannabis onto the paper or wrap, using the crease or seam as a guide. Make sure to spread the cannabis evenly and avoid overpacking the paper or wrap.
If you are adding concentrate, such as hash, kief or rosin, make sure to evenly disperse throughout the flower. Failure to do so may create a run, causing the joint to burn unevenly.
If you are using a filter, place it at one end of the paper or wrap before adding your cannabis. The filter will serve as a barrier to prevent any loose cannabis from entering your mouth while smoking.
Step 5: Roll the Joint
With your cannabis in place, it is time to start rolling. Start by tucking the paper or wrap around the cannabis, using your fingertips to shape the joint into a cylinder. Once you have a basic shape, use your thumbs to begin rolling the paper or wrap back and forth, applying gentle pressure to pack the cannabis into a tight cylinder.
Continue rolling the joint back and forth, applying pressure as needed to pack the cannabis. Use your fingertips to shape the joint as you go, making sure that it is even and cylindrical.
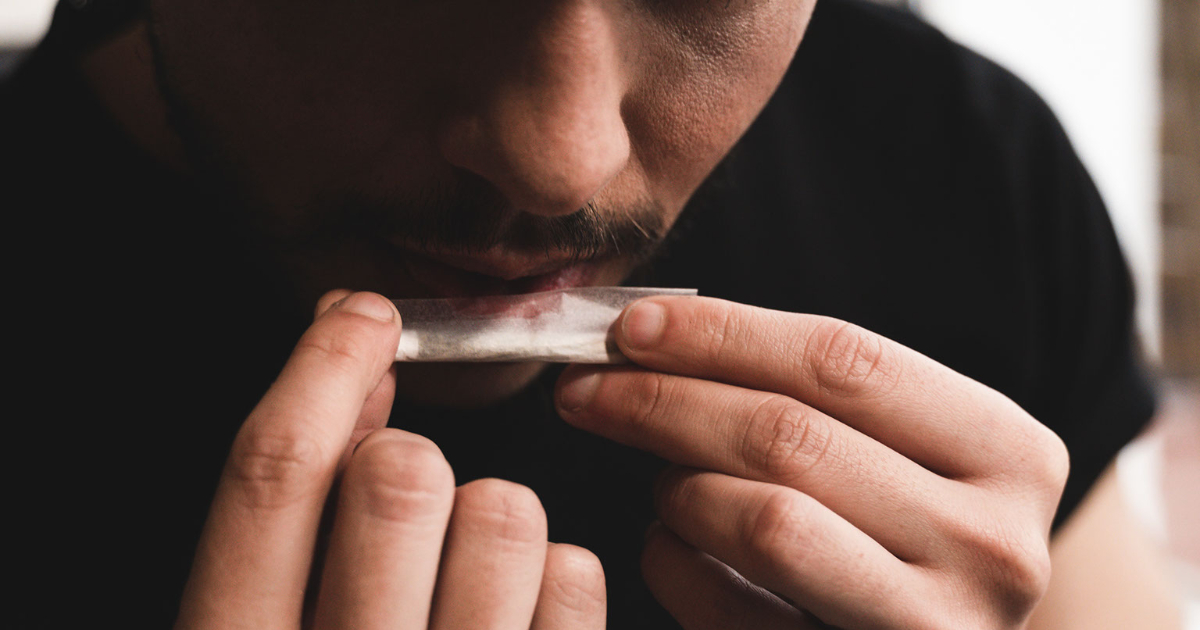
Step 6: Seal the Joint
Once your joint is rolled, it is time to seal it. This is done by licking the adhesive strip on the paper or wrap and pressing it down onto the joint. Use your fingertips to gently smooth out any wrinkles or bumps in the paper or wrap.
Step 7: Twist the Ends
To finish your joint, twist the ends of the paper or wrap to seal it shut. This will help to keep the cannabis from falling out of the joint while smoking.
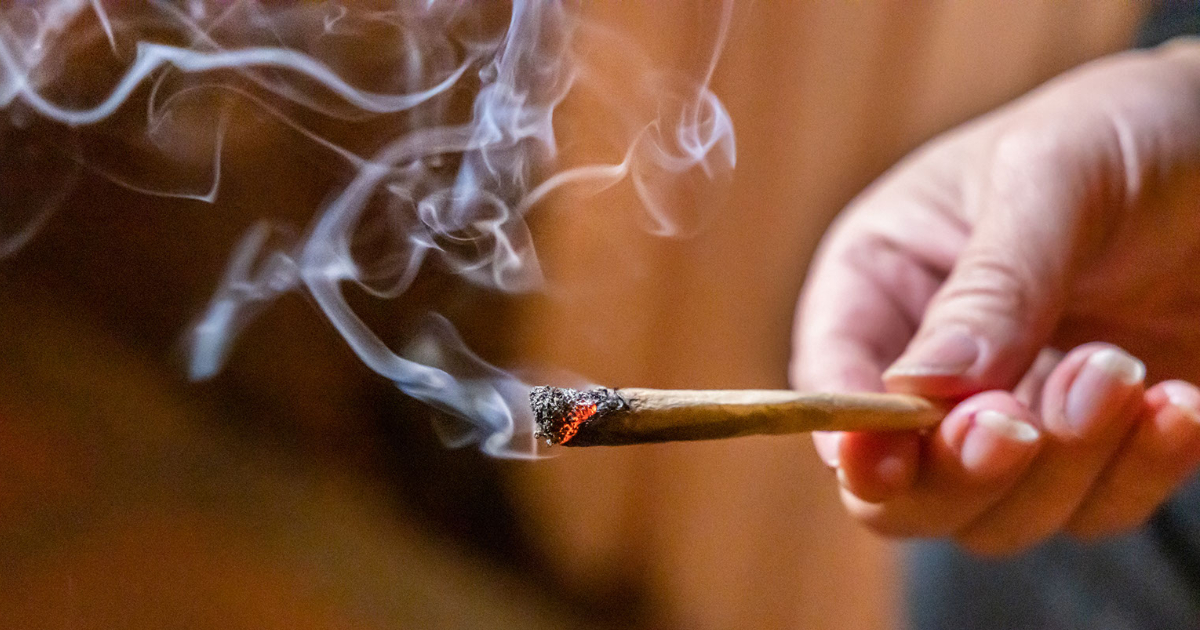
Step 8: Smoking a Joint
Now that your joint is rolled, it is time to enjoy it! Light the end of the joint and take a few slow, steady puffs to get it going. Once the joint is lit, inhale slowly and deeply to enjoy the effects of the cannabis.
Remember, rolling a joint takes practice, and you may not get it right on the first try. Don't be discouraged if your first joint doesn't turn out perfectly. Keep practicing and experimenting with different techniques until you find a method that works best for you. With time and practice, you'll be rolling perfect joints in no time.


DISCLAIMER: THIS SITE DOES NOT PROVIDE MEDICAL ADVICE.
All information, including but not limited to, text, graphics, images and other materials contained on this site are for informational purposes only. No text, graphics, images or other materials on this site are intended to be professional medical advice or a substitute for professional medical advice, diagnosis or treatment. Always seek the advice of your physician or other qualified health care provider with any questions you may have regarding a medical condition or treatment and before undertaking a new health care regimen, and never disregard professional medical advice or delay in seeking professional medical advice because of something you have viewed on this site.